Thursday, March 29, 2012

March-ing On


Well, it's been a pretty productive month for painting, all in all, having finished up a goodly number of Bronze Age troops of various types--some of whom were covered in a previous post and the rest of whom will be on display today.


First up, we have a block of armored archers. ("Phoenicians," by the WAB army list.) I had one unit of these guys already, but as a general rule I like to have at least two of everything, so I managed to scrape together enough guys for a a second unit. Most of them are extras from the Caesar Mitanni Chariot set, but there are a couple of extras--the guys with the shorter tunics and big curvy plumes were actually taken from a box of Caesar Trojans, and two of them are converted from Airfix Romans (or probably the HaT reissues of the same) with heads swapped in from some of the Mitanni. I actually got these guys done before last weeks' games, where they served without any great distinction--if I recall correctly, they didn't score a single hit in the second game, and ended up retreating across the ford before things got too hairy for their side...


Next up, I painted three units of actual Hittites--two units of spears and one of archers. I had a bit of fun with some of the cloaks, but they're mostly just to bulk up the Hittite force. If I can get one more spear unit done, I'll have eight--enough to deploy in two blocks of four, which would be nice.

A driver

A chariot

And the finished product--the other fellow can be seen at the top of the page...

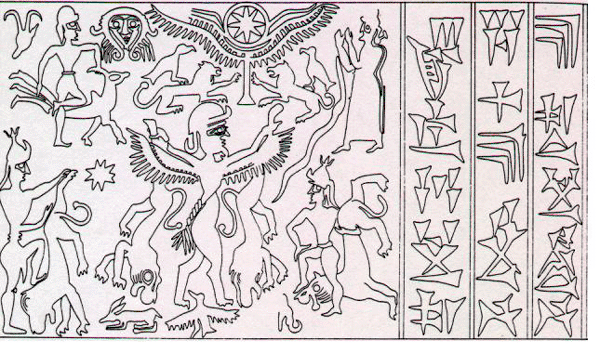
And finally, we have another chariot! I had some fun doing this guy up, with the help of Dad's new optivisor. He'll serve as the leader of the everybody-who-isn't-a-Hittite army when the Egyptians aren't around. Incidentally, that design on the chariot is actually based on a historical source, for once--a seal used by one of the kings of Mitanni.

That will probably conclude this month's painting, unless I get really ambitious in the next couple of days. I do want to get that last unit of Hittites painted up, and I have some more Sea Peoples glued to sticks awaiting my attention, but they'll probably wait. I also have a few things on order that should arrive sometime in the next few weeks: some more Mitanni chariots and a box of Caesar's Assyrian chariots. I want to see if I can add a bit more variety to the Anti-Hittite League with a Middle Assyrian contingent--from what I can tell, they were equipped pretty similarly to other armies of the late Bronze Age, so I'll put some Assyrian crew in the Mitanni chariots and see how they look. And Dad is talking about getting a NQSYW game on the table, and I still have bunches of Poles and Cossacks and giant plaster trilobites and all sorts of other stuff, so we'll just have to see what April ends up looking like.

Tuesday, March 20, 2012

Battle of Uru Adaniya, Round 2

Well, I thought the game went better this time around. (And not just because I won...) More of the battle was decided by melees, but ranged combat still had an effect. Javelins seemed more balanced, though I seemed to have a knack for rolling hits with them anyway. Blocks of spears put up a decent fight. (Though they didn't get a chance to face off against the javelin-armed infantry on the Egyptian side, which would have been interesting.) All in all, it had more of the proper feel to me. The tweaks to the scenario seemed to work as well--splitting the chariots into two divisions gave them more staying power, and deploying the Hittites in line instead of column gave us a bit more maneuvering room.

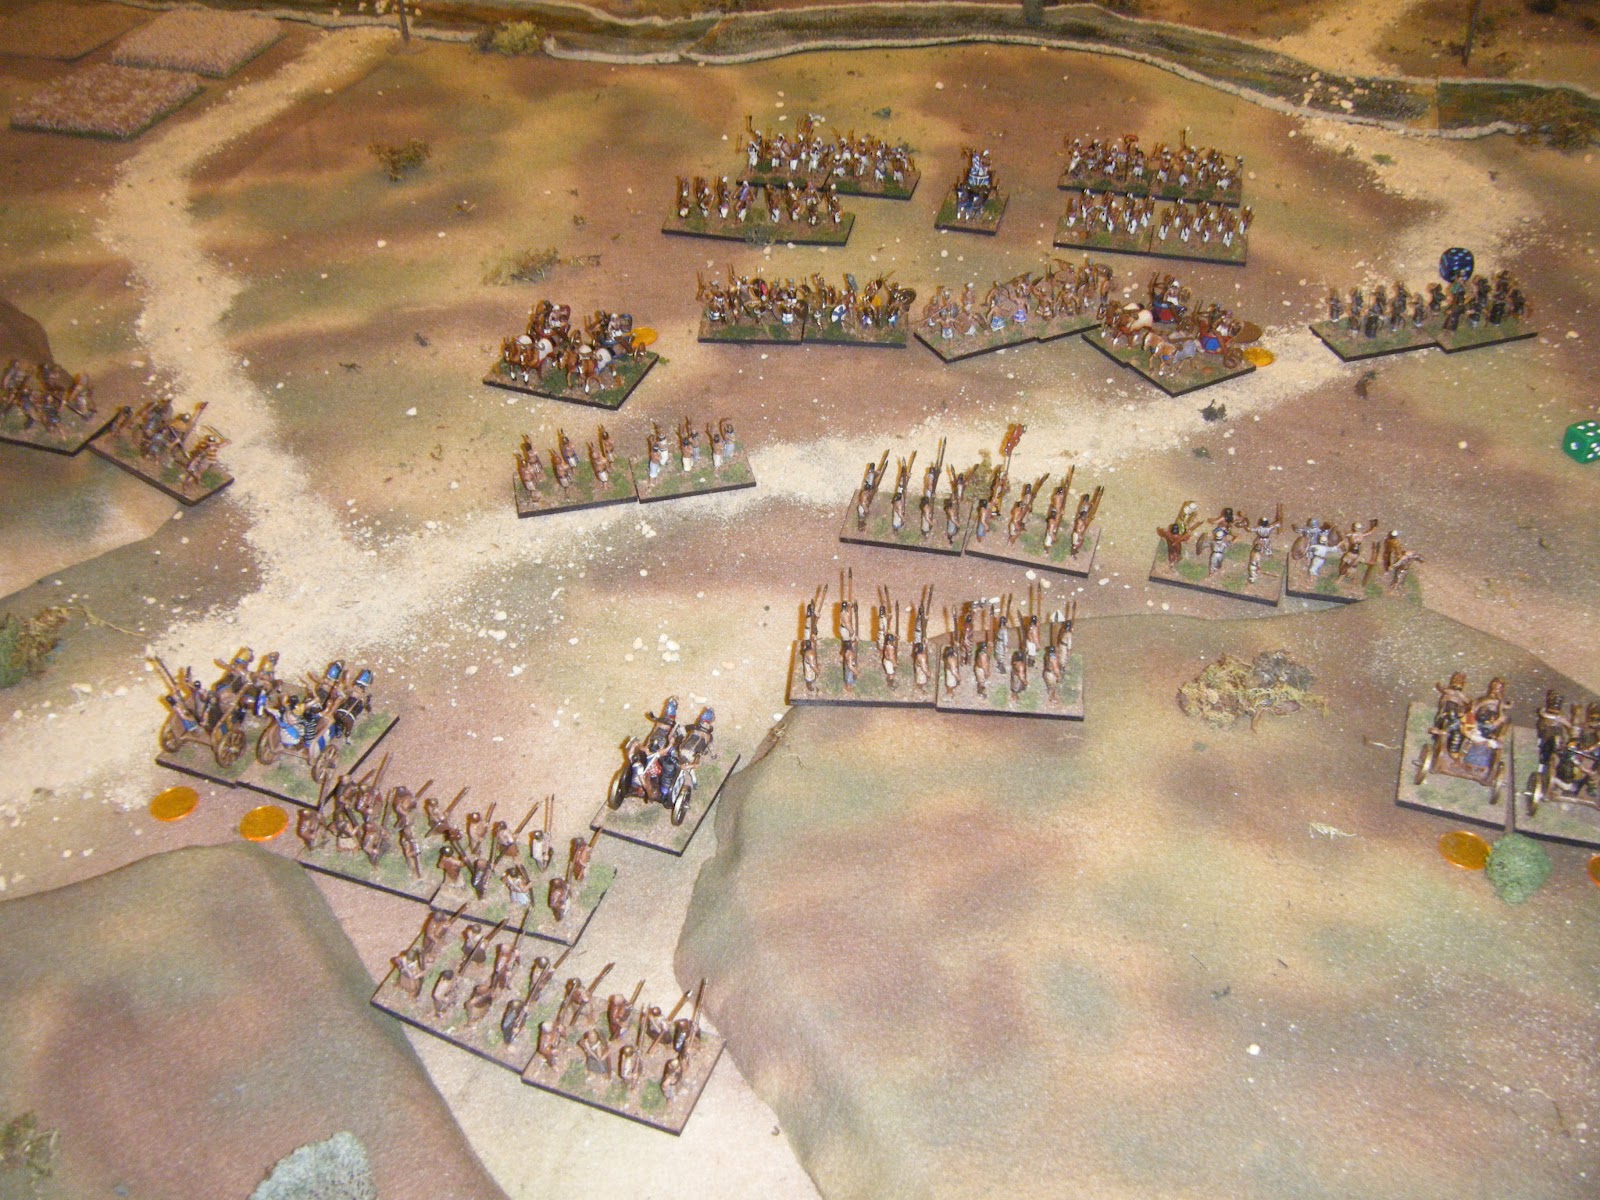
Positions at the start of the game.

The first turn: the Egyptian chariots move out to the flanks, while I move mine to the right.

One of my chariot groups from the left division attacked the infantry in the center and lost. However, a group from the right division has driven back the Egyptians' leftmost infantry unit and has pursued into their second line. The Nubian skirmishers have made mincemeat of my own light infantry archers on my left, while my other light infantry on the left are moving up to deal with the Egyptian chariots coming in.

Several melees begin: on the hill to the left, my light troops against the Egyptian chariots. In the center, my chariots against his infantry. On the right, a big chariot fracas.

The situation after the resolution of the first round of melees. On the left, my light infantry have successfully driven off one chariot group but now have to deal with the other. In the center, the left-hand chariots have broken a group of Egyptian-allied infantry and pursued on to the next. (Note the casualty markers behind them--those chariots are one casualty away from breaking... and remained so for the rest of the game.) Going down the line, my next unit of chariots has driven back another stand of Egyptian infantry--and some ill-timed maneuvering has given them the opportunity to pounce on the flank of another. And on the far right, each side loses a stand of chariots but the melee continues for another turn.

 I won the initiative at a crucial point here, allowing me to send in my chariots in the center before William could get his infantry turned to face. On the far left, the melee continues. William's Nubians withdraw behind a line of Egyptian regular infantry who engage my block of spears. On the far right, I bring up some light infantry to support my chariots.

After this round of melee, my troops on the left have started to gain the upper hand. My infantry continues to push forward against his, and my chariots continue to grind through his other infantry, basically leap-frogging from one to the next. His chariots on the right have wiped out mine, but were significantly weakened in the process; they were quickly dealt with by my light infantry.

Things are not looking so hot for my opponent at this point. He has pulled together a new line of archers in the center, but I have a fresh block of spearmen advancing to face them. (I had pulled back my remaining chariots in case they might be needed later--and I didn't really want to charge them into three undamaged stands of bowmen.) His chariots on both the left and the right have been driven from the field, though my light infantry is pretty chewed-up. However...

At this point, the Egyptian reinforcements arrive on the field--four fresh units, including chariots. (Note that his infantry on the left have finally cracked--his infantry division is near half-strength; the loss of one more stand will break it.)

And there they go, heading for the ford. I pull back and disengage along the line, in some cases wheeling a bit to face the new arrivals. The Nubians shower my spear block with arrows before falling back, pushing them almost to the breaking point as well. It was at this point we called the game, since I had done pretty much all the damage I could. Of my four divisions, two were only one or two casualties away from breaking. The Egyptians, not counting their reinforcements, had lost three of their four initial divisions (two chariotry, one infantry) and their fourth was in bad shape as well. All in all, I would call that a Hittite victory, though not a cheap one.

Monday, March 19, 2012

Battle of Uru Adaniya, Round 1

Finally got around to running a game with the Hittites and Egyptians, which I haven't done for quite a while. I will most likely run it again tomorrow, as I have some tweaks in mind for the rules.

The original plan for the Bronze Age was to use Warhammer Ancient Battles, but lately I have been considering other options, since WAB really prefers individually-based figures and we've been painting them up in stands of about 4-8 figures. As it happens, a few weeks ago my dad and my brother and I played a game via Skype against our friend Ross McFarlane, using his Rough Wooing rules for Renaissance warfare. On the way back from Cold Wars the other weekend, Dad and I got to discussing whether Rough Wooing could be adapted for the Bronze Age, as it is more amenable to our current basing scheme.

I decided I would give it a try, and since Dad's currently off on a business trip, I enlisted my brother William to command the Egyptians. The scenario was a pretty straightforward one, with Egyptians deployed with their backs to a river and the Hittites coming down out of the hills. Going into the game, the only major adjustment I made to the rules was the addition of javelins, since several units on both sides are equipped with them. I gave them a range of 6" and figured they'd be treated like any other ranged weapon. Rough Wooing contains several different grades of cavalry, but I compressed these down to two: the heavier lance-and-javelin-armed Hittite chariots were given a move of 3d6, a frontal to-hit of 3-6, a flank to-hit of 5-6, and an armor save of 4-6, while the lighter bow-armed Egyptian and allied chariots were given values of 4d6, 4-6, 5-6, and 5-6 respectively.


Given the size of our table and the fact that both sides put their chariots out in front, the game began with a series of chariot clashes all along the table. Despite their advantages, my chariots did not come out ahead in the melees; two groups were forced to fall back. (Looking back, the Egyptian chariots probably should have been given the option to pursue.)


Before and after the first melee. Note that the Egyptians have lost a chariot group in the center--not from the melee, but from bow-fire from the archers on the hill and javelins from Hittite chariots that weren't quite in charge range.

The next few turns saw some skirmishing on the flanks--where the Egyptians' Nubian skirmishers wiped out an entire group of archers before being taken out by some of my javelin-armed light infantry, while my chariot gave a poor showing in the center as that melee moved from mainly chariotry to mainly infantry. Eventually both sides' chariot divisions were reduced below half strength and forced to retreat off the field.


The evolving board position.

The last clash in the center brought up one final problem. Working on the notion that my blocks of spearmen were probably not the equal of Renaissance pikes, I decreed that they wouldn't get to use the special pike advantage of rolling four dice instead of two. Unfortunately, this made them strictly worse than everyone else, since they could only hit on a 5 or 6 and had no armor, while the troops they were facing would hit on a 4, 5, or 6 and had some minimal armor which saved them a few casualties.

While the game sort of worked, I was not entirely satisfied with how it went. Ranged combat seemed to have a definite advantage over hand-to-hand, which didn't seem appropriate for the period I am attempting to simulate. The number of javelin-armed units did not help in this regard. So, changes that will be in effect for the next game:

  • Maximum of two dice of ranged fire per stand. (We actually switched to this pretty early on in this game; the rules as written say one die per figure, expecting stands of 2-4 figures.)
  • Ranged attacks hit on a 5 or 6 instead of a 4, 5, or 6.
  • Javelins will have a range of 0"--javelin-armed units will be allowed to use them when charging or being charged, but not for continuous long-range bombardment. (Casualties will count towards melee results as per existing rules for reaction shooting.)
  • Spears will get their four dice per stand.
There will also be a couple of minor tweaks to the scenario:
  • Hittite infantry will start in line instead of column.
  • Both sides' chariots will be split into left and right-hand divisions instead of being clumped together. (I've been using the term 'division' in place of the original rules more period-specific 'battle.')
  • Overall commanders will not start out attached to the front rank of chariots. (Given how quickly the melee in center developed, we realized having both generals in the front rank was probably a recipe for an overly-quick game.)
Anyway, tomorrow we'll play it again and see how it goes!

Thursday, March 15, 2012

Back to the Bronze Age

My interest in the late Bronze Age in general and the Hittite Empire and its neighbors in particular predates this blog by several years--as does the associated miniatures project. In fact, it's coming up on about five years since I painted my first chariots. Lately it has been neglected in favor of other projects, but I'm tired of the accusatory stares from the sticks of half-painted Hittites I see every time I open my box, so I decided that this week I'd try to get a few painted off.

Possibly the most recent deployment of these figures... in January 2010.

I started off with a stand of Sea Peoples (nefarious pirates and brigands of the Mediterranean), drawn from the Caesar set. I've gotten a bit out of practice, having not painted anything in a month or more, but at least they're a decent match for the ones I painted a couple of years ago, if not up to my current standards.

Next up, a batch of archers from Caesar's Hebrews. I have a couple of stands of melee troops done up from these guys already, and I may have gone overboard on the stripes with them. I mostly managed to restrain myself this time, though.


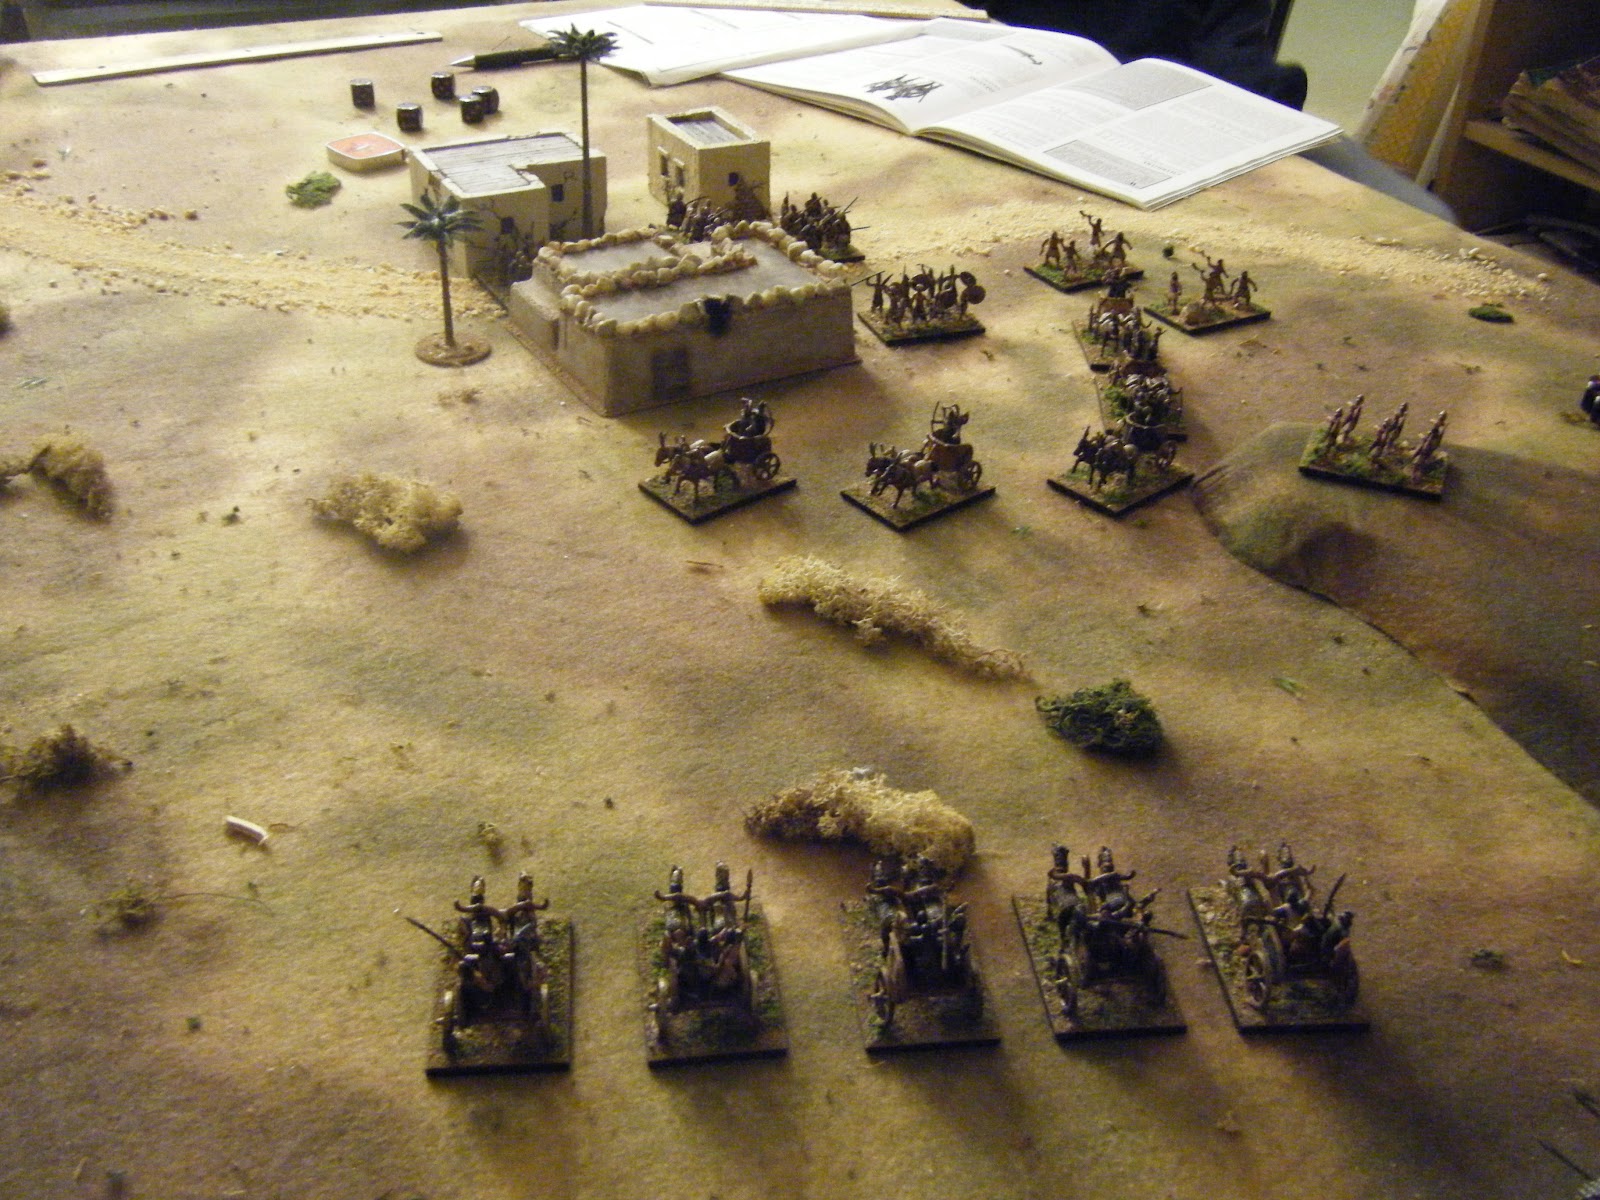
Finally, I just finished an actual chariot--not a Hittite chariot, but a more generic Syrian/Mitanni type that can be part of either an allied contingent or an opposing force. As with probably about 95% of the figures for this project, it is a Caesar product--in this case, their Mariyannu Chariot set.


The next thing on my to-do list is a unit of armored infantry with bows... and then I have an experimental prototype to work on. You see, part of Caesar's Bronze Age range includes Mycenaean Greeks and Trojans... but their promised Mycenaean chariots have been stuck in Development Hell for a couple of years. But I recently came across some unused chariot parts, and so I have knocked together something that looks a bit like a rail chariot which may serve for now. (Although I don't currently have any Greeks or Trojans painted, so it's not like this would be immediately useful or anything...)


(The chariot base is from the Mariyannu set; the two crewmen are Mycenaean Army, and the horses are actually co-opted from HaT's Gallic Chariot with Warrior Queen.)

Sunday, March 11, 2012

Cold Wars 2012

February ended up being a pretty poor month for painting--though not for gaming, since I got in a couple of games of Hordes of the Things with William and helped Dad with a couple of rounds of playtesting for his 54mm medieval skirmish game. However, with the boost in motivation that usually comes from going to one of the big conventions, I hope to get a few things done up over the next couple of weeks.

We headed up to Cold Wars on Friday, after having seen John Carter in IMAX 3-D that morning. (Moderately entertaining, and reasonably true to the source material, though 3-D doesn't really add much in my opinion.) Anyway, we arrived about 2:00 p.m., which gave us some time to trawl through the flea market and the dealer's area. I managed to be relatively restrained in my purchases this time around. I found a box of Esci Russian paratroopers who will probably get painted up for my AK47 Republic project whenever I get back to that. I also came away with a pair of plaster trilobites by some outfit called WindSword accessories. These fit neatly onto a 60x80mm base, so they will eventually be fitted out with howdahs or something and be put into service as Behemoths for my prehistoric-sea-life-themed Antediluvian army.

It seemed like the pickings were pretty slim as far as games starting in the late afternoon time-slot, but the three of us eventually ended up grabbing tickets for a pirate game. Dad, William, and a couple of other players led pirate bands who were attempting to capture the gold shipment I was escorting through a jungle full of angry natives and other assorted tropical dangers. Unfortunately, my team of conquistadors got overwhelmed, and despite a good deal of backstabbing among the pirates, they got away with the gold. (I had a group of reinforcements, but they were unable to reach the scene of the action in time to prevent the pirates' escape--despite the trouble William had in crossing the river with his ill-gotten gains.)

My crew sets off into the jungle.

Surrounded!

We returned the next morning in time to set up for Dad's 9:00 a.m. game, but unfortunately he was unable to find enough players to run it at that hour of the morning. William and I ended up getting to drafted into one of the Schlegels' eponymous Schlegel's Ferry Blood & Swash skirmish games--this one focusing on the antics of 1930's era gangsters. William managed to get himself embroiled in action pretty quickly, but I tramped about halfway across the board only to be cut down by a burst of tommy-gun fire from someone hiding in a cornfield. Oh well--it gave me a few minutes to grab a sandwich and take a quick run through the Saturday morning flea market before my 1:00 p.m. game.

William gets into trouble.

My contingent, shortly before their untimely deaths.

At 1:00 p.m. Dad finally got his chance to run his game. (I hear the English lost this time, in contrast to both playtest games.) I, however, was off recreating the battle of Zama, with Matt Kirkhart's marvelous homemade wooden figures. I ended up commanding the Roman center, in the role of Scipio Africanus himself.
Scipio himself.

His opponent, Hannibal.

Our troops began set up roughly as per history, with two blocks of infantry in the center and lighter mounted elements on the wings. Hannibal is, of course, famous for his war elephants, and there were four of them on the Carthaginian side. In our game, they ended up deployed off to the flanks, where I think the Carthaginians were hoping to exploit their advantages against horsemen. However, our velite skirmishers were able to keep them occupied on the left, while on the right we had some Numidian infantry who served well enough as elephant-fodder. As the game progressed, the center became a giant infantry shoving-match, while two cavalry melees developed on either wing. Eventually our side came out ahead on both wings, while our manipular legions began to gain ground against the Gallic and Punic infantry. Finally a gap opened up in the center of their line and we poured through, even as our allied Numidian cavalry from our right flank swept around to their rear, prompting them to surrender. All in all, a very enjoyable game!

The view from my position at the start of the battle.

The Carthaginian center.

Velites (wearing their distinctive wolfskins) harass an elephant.

The situation on our right flank.

Pushing forward in the center. (One elephant managed to get through and come around behind us, but the Triarii dealt with him.)

We break through!

I had time for one more game, so I met up with one of my college friends to play a game of Vlad the Impaler vs. the Ottomans. I had the Ottoman left wing, while Marc had the right. I didn't pay close attention to what went on over on his side of the field, as I was busy keeping my horse-archers out from under the trampling hooves of Vlad's Hungarian allies. Eventually, though, I think he broke through Vlad's left and started a series of contagious morale failures that routed their army.

My horse archers exercising some hit-and-run tactics.

Not sure what was going on over here, but apparently it was important.

My general was just about to see some combat when the battle ended...

All in all, a good convention, and hopefully the inspiration I need to get working on some of my own projects again. Next up, Dad has been talking about hauling out the Not Quite the Seven Years' War, and I want to try out an idea I've had with my 20mm Bronze Age project...

Tuesday, February 14, 2012

Maps, part IV

Yes, it's that time again!

I've been away from my painting table for the last couple of weeks, and now that I'm home there will probably be a brief delay until I get production started up again. Also, you may expect some Cossack-related griping in the near future.

In the meantime, here are a few more alternate history maps. Remember, these maps are fictional, do not depict real history, and should not be used as resources. Moreover, I do not intend them to make any political statement about the owners of any given piece of land, now or at any time in our past.

That being said, here's the first map: an "ironic reversal" of the Boer War.

Towards the end of the sixteenth century, a group of London merchants were granted permission from Queen Elizabeth I to form a company for trade with the East Indies--the predecessor of the British East India Company. In OTL, all three ships from their second expedition were lost at sea, but in this timeline, one survives, and on its return the captain advises his employers that a supply station should be built to facilitate future trade. It is several years before the company's backers can find the funds, but eventually they follow through on the captain's recommendation and the settlement of Goodhope is founded on the site of OTL Capetown.

The colony grows slowly but steadily, and bit by bit English settlers begin to push into the interior. Puritans and other nonconformists account for a disproportionate percentage of the new arrivals, and many of them move beyond the region of official government control. Relations with the native peoples are complicated and often devolve into violence. The city of Willemspoort is founded further east along the coast as a supply station for the Dutch, marking their first official presence in the region.

Despite their early advantage, the English eventually falter, and in the aftermath of one of the European wars they are stripped of many of their eastern colonies, including Goodhope and the outlying settlements, which are handed over to the Dutch. The unofficial farming and ranching settlements of the interior are left mostly to their own devices, although they begin to receive a steady influx of people from the coastal settlements who are dissatisfied with the new Dutch authorities. Known as "Rovers," many of them push east to the Limpopo or north and west across the Kalahari, provoking fresh conflicts with native tribes, particularly the Zulus. A series of independent English-speaking republics are formed across the interior of South Africa, not all of the recognized by the Dutch authorities in Goodhope. Dutch immigration to the so-called "Rover republics" is resented by the English-speakers, and tensions are only aggravated when gold and diamonds are discovered in the region. In early 1901, violence breaks out between Dutch settlers and English Rovers in one of the disputed regions. The Governor-General in Goodhope moves to assert Dutch authority, while the Rover leaders appeal to the Portuguese, who have tacitly lent their support...

Next up, alternate alliance systems in the 19th century lead to a different World War I:
Bismarck doesn't become a diplomat; he goes into law or something instead. Without him, Prussian politics proceed somewhat differently. There ends up being no conflict with Denmark over Schleswig-Holstein, but war still breaks out between Austria and Prussia in 1866. This war ends up going on longer than it did in OTL, without Bismarck's moderating influence, and some of Austria's allies in southern Germany are forcibly incorporated into the new German Federation. This, in turn, averts the Franco-Prussian War: the French are on their guard and the Prussians are busier holding together their new country. The French buddy up with the Austrians in a sort of new "Diplomatic Revolution," while the Germans build ties with Russia and Italy.  A Russo-Turkish war does occur, though along somewhat different lines than OTL--with Austria-Hungary more focused on the west and less well-inclined towards Russia, it doesn't end up taking over Bosnia, though Serbia and Rumania gain their official independence.

As described in the map text, a major war breaks out in 1900, between the Triple Alliance of Germany, Italy, and Russia and the Franco-Austrian Concert. The Ottomans and the British both end up joining the Concert, as the map colors suggest--the former to get back at Russia, the later partly because of the Great Game and partly due to worries about Germany. British intervention on the continent is limited to a few token forces, but the British navy has a grand old time against the Italians in the Mediterranean, and there's fighting against the Russians in Persia and Afghanistan as well as against the Germans in their couple of African colonies. (Almost anything is preferable to the trench warfare that engulfs much of the continent--it's pretty much like our WWI but without tanks and only a few primitive airplanes towards the end...)

And for the third one, it's back to Africa for a look at a rather dystopic Kingdom of Kongo:
The Kingdom of Kongo was one of the few nations that managed to avoid European colonialism; a series of smart and fortunate kings managed to play off the English, French, Portuguese, and Dutch against one another, while taking over several of Kongo's weaker neighbors.

Does this mean that Central Africa is a shiny, happy place in this timeline? Unfortunately not. Part of Kongo's strategy for retaining its independence was to be too valuable for any one European power to be allowed to seize, and so the kings of Kongo ended up paying for their freedom with all the resources at their disposal--gold, ivory, copper, diamonds, and even their own people, until the end of the slave trade. As the 19th and 20th centuries progressed, Kongo began to develop its own industries, and with the European nations distracted by wars at home, Kongo emerged as a regional power of its own. A timely declaration of war gave the Kongolese an opportunity to snap up some territories in the interior during the subsequent peace conference. These new territories, dubbed "special resource zones," are being ruthlessly exploited in an attempt to cement Kongo's status as an industrial power. Likewise, "Kongolese Catholicism" is being imposed at bayonet-point throughout the empire, with Muslims, followers of traditional religions, and Protestant converts and missionaries being targets for violence.

And here's a special bonus map! The story behind this one is not mine; instead, you can check it out here.